How to Shingle a Gambrel (Barn-Style) Shed Roof
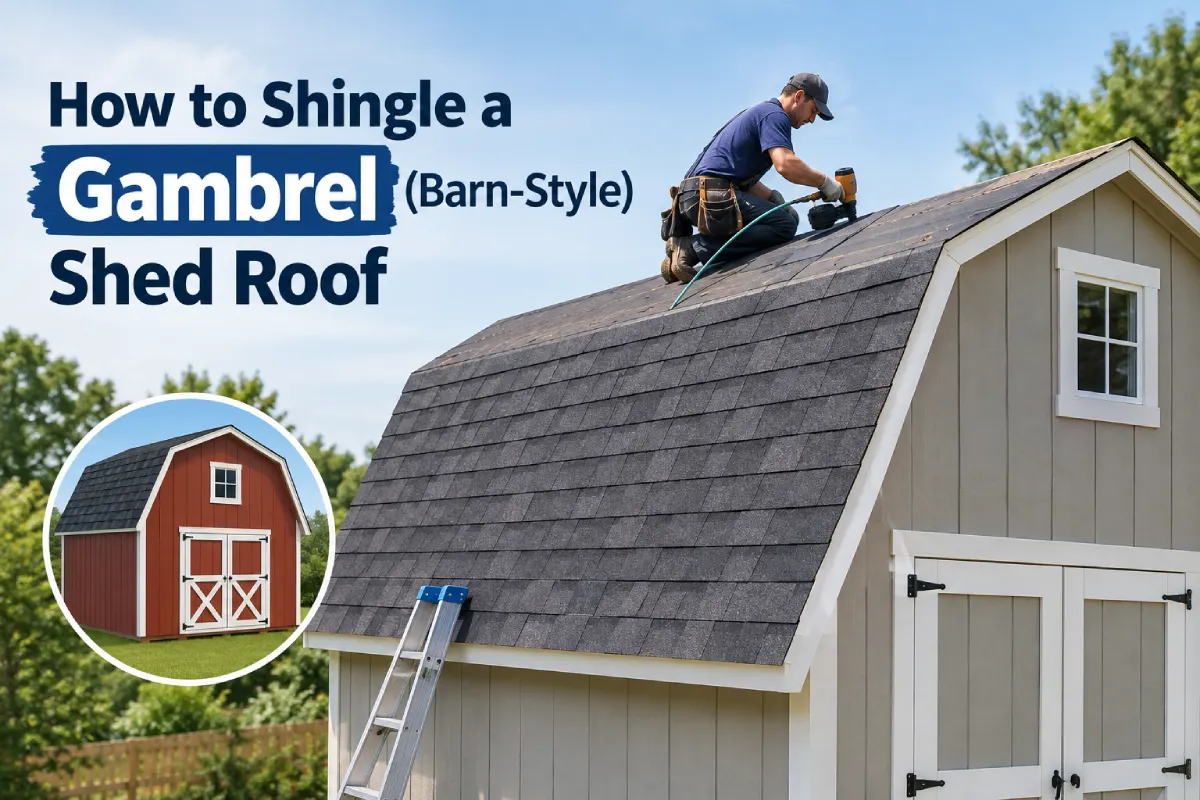
A barn-style shed has a gambrel roof: on each side, a steep lower slope rises to a bend, and a shallower upper slope carries on to the ridge. Shingling it is ordinary shingling on four planes instead of two, with one feature that is not ordinary at all. The break line, where the slope changes, is the detail that decides whether the roof leaks.
Everything else follows the usual sequence. This guide concentrates on what is different.
Why the break line is the problem
Shingles are designed to lie flat and overlap. At a gambrel break, the roof bends outward, so a shingle crossing it would have to bend, and the course above cannot lie tight against the course below.
Water behaves differently on either side of the bend, too. It runs fast down the steep lower slope and slowly on the shallow upper slope, so the upper slope drains less quickly, and wind can push water back up it and into the joint.
To work out the area of both slopes on each side, use the Gambrel Roof Calculator.
Two things follow: the break needs continuous underlayment protection, and the shingles need a detail that carries water from the upper slope out over the lower one.
Check both pitches
The two slopes can be very different, and each one has to be checked separately.
- Upper slope: shed gambrels commonly use a fairly low pitch here. Asphalt shingles are not allowed below 2 in 12, and from 2 in 12 up to 4 in 12 they need double underlayment.
- Lower slope: often very steep. Most shingle manufacturers have steep-slope instructions that apply above roughly 21 in 12 (about 60 degrees), usually asking for six nails per shingle and hand-sealing each tab with dabs of roofing cement, because the sun cannot be relied on to seal shingles that are nearly vertical.
Measure rise over run on each slope, or use the roof pitch calculator, and read the bundle wrapper for the steep-slope and low-slope rules that apply.
Working out quantities
A gambrel shed has four roof planes. Measure each along its slope, from its lower edge to its upper edge, multiply by the length of the shed, and add all four together. Add around 10 to 15 percent for waste, since the break-line courses and trimming use more than a plain gable. Divide by 100 for squares and multiply by three for bundles on most products.
Add starter strip for both eaves (and the rakes, if you are using it there), ridge cap for the length of the ridge, and enough drip edge for eaves and all eight rake edges. The shingle bundle calculator handles the totals once you have the areas.
Step 1: Shingle the lower slopes
Start as on any roof:
- Fit drip edge along the eaves directly on the deck.
- Lay underlayment over it, working up toward the break.
- Fit drip edge along the lower rakes, over the underlayment.
- Lay a starter course, then full courses, nailed on the nail line and offset between courses.
On the steep lower slope you will usually be working from a ladder or scaffold rather than standing on the roof. Follow the steep-slope nailing and sealing instructions on the wrapper.
Stop the underlayment on the lower slope a few inches past the break, lapping it up onto the upper slope’s deck. It must not stop short of the bend.
Step 2: Protect the break line
The weakest point is the joint between the two decks at the bend, so give it an extra layer before the upper slope’s underlayment goes on.
The most reliable approach is a strip of self-adhered ice-and-water membrane, about 18 inches wide or more, centered on the break so it covers the lower slope’s underlayment lap and extends up onto the upper slope. It seals around nails and is far more forgiving of the bend than felt.
Then lay the upper slope’s underlayment from the break upward, its first course lapping down over the membrane. Every lap now faces downhill.
Step 3: Choose a break-line detail
Take the lower slope’s shingle courses right up to the break. Then use one of two methods. Both work; the second is better on sharp angles.
Method A: Bent shingles across the break
This is the traditional approach on moderate angles.
- Trim the top course on the lower slope so it finishes at the break, nailed as high as practical.
- Lay the first course of the upper slope so its tabs hang down over the break, covering the lower slope’s last nail line.
- Bend those tabs over the edge onto the lower slope, and nail the shingle on the upper slope only, never through the bend.
- Seal the tabs down to the lower course with dabs of roofing cement.
Do this on a warm day, or warm the shingles first. Cold shingles crack along the fold, and a cracked shingle at the break is a leak into the most vulnerable joint on the roof. Laminated shingles are thick and stiff and often do not bend cleanly; this method suits three-tab shingles better.
Method B: Metal break-line flashing
On a steeper angle, or with laminated shingles, a metal flashing is the neater and more durable choice.
- Finish the lower slope’s top course at the break and nail it high.
- Fit a bent metal flashing along the break, folded to the angle between the two slopes. Its lower leg lies over the last lower-slope course; its upper leg runs several inches up the upper slope’s deck over the underlayment.
- Fasten the flashing through its upper leg only, where it will be covered.
- Start the upper slope with a starter course laid over the flashing’s upper leg, overhanging the bend slightly, then shingle up as normal.
The flashing sheds water from the upper slope out over the lower shingles, and no shingle has to bend at all. A sheet-metal shop can fold one to the exact angle if a stock profile does not match.
Step 4: Shingle the upper slopes
Fit drip edge on the upper rakes over the underlayment, lapping over the top of the lower rake drip edge at the break so water on the rake cannot get behind it.
Snap chalk lines and lay the courses up to the ridge. If the upper slope is below 4 in 12, confirm the double underlayment is down first. Plan the top course so it will not be a thin sliver at the ridge.
Step 5: The ridge
Trim the top course on each upper slope to meet at the peak. Fit ridge cap starting from the end away from the prevailing wind, bending each piece over the ridge and nailing one nail each side where the next piece covers it. Seal the two exposed nails on the final piece.
The shallow angle at a gambrel ridge makes cap pieces easy to bend, but they still crack in cold weather.
The lower slope is not a walking surface
A gambrel’s lower slope is often too steep to stand on at any height. Work it from a ladder with a stand-off bracket, from scaffold, or from a platform, and do not try to climb up the lower slope to reach the upper one. Reach the upper slope from a ladder at the gable end or from scaffold, and use roof brackets with a plank on it if it is steeper than about 6 in 12. On anything but the smallest shed, a harness anchored at the ridge is worth having.
Mistakes specific to gambrel roofs
- Underlayment that stops at the break instead of lapping across it.
- Nailing through a bent shingle at the fold line.
- Bending cold shingles, which crack at exactly the wrong place.
- Ignoring steep-slope nailing on the lower slope, so shingles slip or blow off.
- Too little underlayment on an upper slope under 4 in 12.
- Rake drip edge on the upper slope tucked under the lower slope’s metal instead of over it.
- Using the same bundle count as a gable roof, then running short at the break.
For the basics of drip edge order, nailing and starter courses on a simple shed roof, see how to install asphalt shingles on a shed roof.
Conclusion
Treat a gambrel shed as two roofs joined at a bend. Check each slope’s pitch against the low-slope and steep-slope rules, shingle the lower slopes first, and cover the break with continuous underlayment and a strip of self-adhered membrane.
Then carry the upper slope over the break with either warm, bent shingles nailed on the upper slope only, or a folded metal flashing with a starter course above it. Get that one line right and the rest of the roof is ordinary shingling.