How to Install a Metal Roof on a Shed Without Leaks
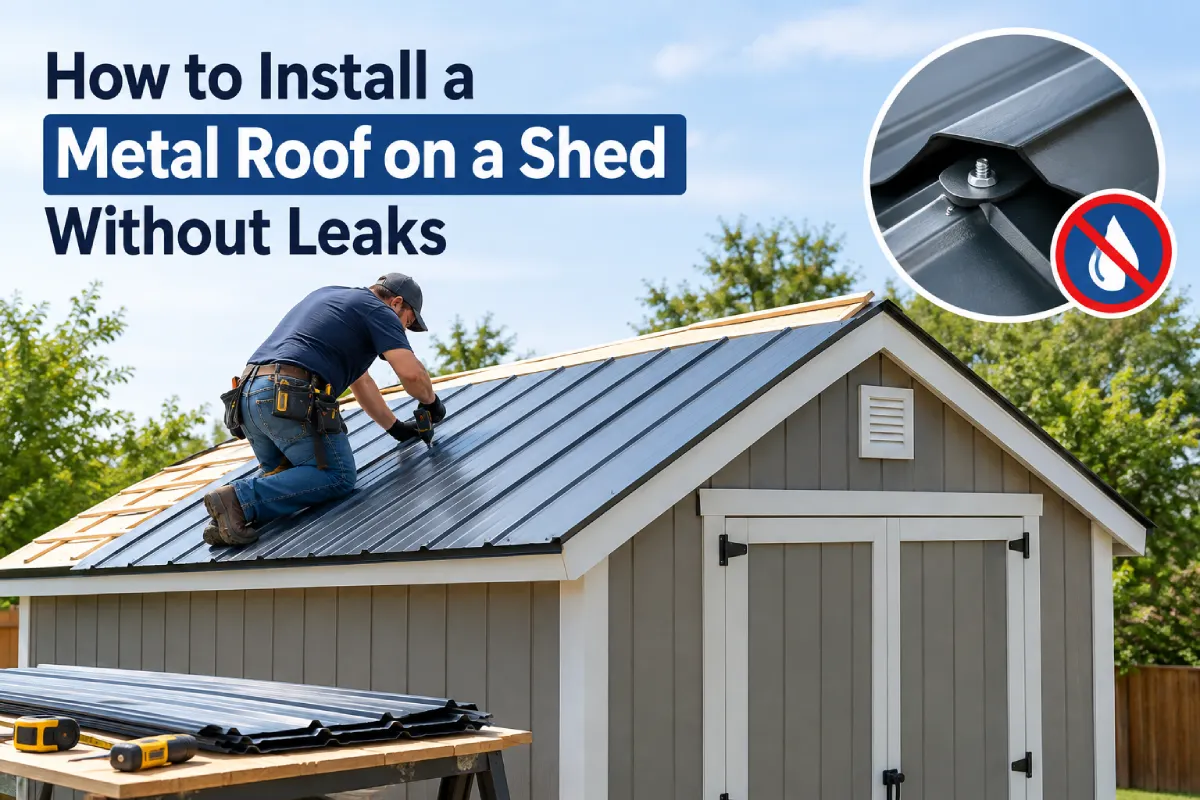
Metal panels are one of the easiest roofs a first-timer can put on a shed. The panels are long, so a small roof can go on in a few hours, and the material itself rarely fails. What fails is almost always a detail: a screw in the wrong place, a lap facing the wrong way, a gap at the ridge, or condensation nobody planned for.
This guide covers exposed-fastener panels, the corrugated and ribbed sheets sold for sheds, barns and outbuildings, with the mistakes that cause leaks called out at the step where they happen.
To count sheets with side and end laps allowed for, use the Corrugated and Polycarbonate Sheet Calculator.
Check the pitch first
Exposed-fastener panels shed water through overlapping side laps. On a shallow roof, water moves slowly enough to be drawn into those laps.
The residential code sets the minimum slope for lapped, non-soldered metal panels at 3 in 12 where no sealant is used in the laps, and at 1/2 in 12 where lap sealant is applied as the manufacturer instructs. Panel makers often set their own minimums, and many recommend staying at 3 in 12 or above for shed-grade panels regardless.
If your shed is shallower than 3 in 12, plan to use butyl tape in every lap and check the panel’s literature. Below 1/2 in 12, exposed-fastener panels are the wrong material. The roof pitch calculator gives the figure from a rise and run measurement.
Materials
- Panels cut to length, so each one runs from eave to ridge in a single piece. Order the overhang into the length.
- Trims: eave trim or drip edge, rake (gable) trim, and ridge cap, or high-side trim on a single-slope shed.
- Closure strips: foam or rubber strips shaped to the panel profile, inside closures for the eave and outside closures for the ridge.
- Screws: self-drilling roofing screws with bonded EPDM washers, in a finish that matches the panel coating. Buy extra.
- Butyl tape for side laps, end laps and under trims.
- Underlayment if the roof has a solid deck: a synthetic rated for metal roofing.
Panel steel is usually 29 or 26 gauge; 26 is thicker and takes foot traffic and hail better. Galvalume coating generally outlasts plain galvanized steel in most climates.
Tools that do not damage the panels
Cut with electric shears, a nibbler, or aviation snips for short cuts. A circular saw with a metal-cutting blade works for long cuts if you protect your eyes and the panel surface.
Do not use an abrasive cut-off disc or angle grinder. It burns the protective coating back from the cut edge, and the hot filings it throws embed in the panel surface, where they rust into orange spots within weeks. Sweep metal filings off the roof as you go for the same reason.
Deck or purlins?
Shed roofs take metal in one of two ways.
- Open purlins: horizontal battens, commonly 2x4s on edge or flat, spaced as the panel manufacturer specifies, often around 24 inches. Panels screw directly into them.
- Solid deck: plywood or OSB, covered in underlayment, with panels screwed through into the deck or into purlins laid over it.
Both work. The choice matters mainly for condensation, below.
If the purlins or deck are pressure-treated lumber, do not let the panels sit directly on it. Modern treatment chemicals are corrosive to steel and to Galvalume. A strip of underlayment or a membrane between them prevents it.
Plan for condensation
A metal sheet cools fast at night. Warm, moist air inside the shed meets the underside of the cold panel and condenses, and then it drips onto whatever is stored below. Many owners discover this in the first autumn and assume the roof leaks.
The fixes, in order of effectiveness:
- Anti-condensation panels, which have a fleece backing factory-bonded to the underside that holds the moisture until it evaporates.
- A solid deck with underlayment, so there is no cold metal exposed to the air inside.
- A breathable membrane draped over the purlins before the panels, with the laps facing downhill, which catches drips and carries them to the eave.
- Ventilation in the shed walls or gables, which reduces the moisture load but rarely solves it alone.
Step 1: Eave trim and closures
Fit the eave trim or drip edge along the bottom edges, fastened into the fascia or the first purlin. On a solid deck, the underlayment goes on after the eave trim and laps over it.
Run a strip of butyl tape along the eave trim, then press the inside closure strip onto it. The closure fills the gaps under the panel’s ribs so wind, rain and wasps cannot get in underneath.
Step 2: The first panel
Start at the end of the roof away from the prevailing wind. Each new panel overlaps the one before it, and starting downwind means the exposed edge of every lap faces away from the weather.
Set the first panel so it overhangs the eave by the amount the manufacturer specifies, commonly around 1 to 2 inches, and so its outer edge is flush with or slightly past the rake. Then check that it is square to the eave, measuring diagonally or against a string line. A panel that is a quarter inch out at the eave is several inches out by the far end of the roof, and every panel after it follows the error.
Fasten it at the eave and ridge first, recheck, then fill in.
Step 3: Fastener placement
This is the source of most metal roof leaks.
- Follow the panel maker’s fastening pattern. For most ribbed panels (R-panel, AG-panel and similar), screws go in the flat of the panel beside the rib, where the washer can seal against a flat surface.
- Some profiles are different. Certain traditional round corrugated sheets are designed to be fastened through the crown of the corrugation with longer screws and shaped washers. Check your product’s literature rather than assuming.
- Screw into the purlin, not between purlins. Snap a chalk line over each purlin before starting so every screw finds wood.
- Space them as specified, typically every 12 to 24 inches along each purlin, with closer spacing at eaves, ridges and edges where wind load is highest.
- Drive them square and to the right tension. The washer should be compressed flat, just to the edge of the screw head. Under-driven, it does not seal; over-driven, the rubber splits and squeezes out, and it leaks within a year.
Set the screw gun’s clutch on a scrap panel before you start. Driving every screw by feel is how roofs end up with a mix of loose and crushed washers.
Step 4: Side laps and end laps
Lay each new panel so its edge rib overlaps the previous panel’s edge rib, typically by one full rib. Run butyl tape along the lap first on shallow roofs, and on any roof if the manufacturer recommends it.
Fasten the lap with stitch screws where the panel maker calls for them, so the two panels are pulled together between purlins.
Avoid end laps (two shorter panels joined along the slope) wherever you can by ordering full-length panels. Where one is unavoidable, the upper panel laps over the lower by the manufacturer’s figure, commonly at least 6 inches, with two rows of butyl tape between them and the lap positioned over a purlin.
Step 5: Rake trim
Fit the rake trim over the panel edges once all the panels are on. Start at the eave and work up, lapping each upper piece over the one below, and fasten through the top of the trim into the panel’s high rib and through the face into the rake board, as the trim design allows.
Step 6: Ridge or high side
On a gable shed: run butyl tape across the top of the panels a few inches below the peak, set outside closure strips on it, and fit the ridge cap over them. Lap cap sections by around 6 inches with butyl between them, and fasten through the cap into the high ribs.
- On a single-slope shed: use a high-side or peak trim that folds over the top edge and down the fascia, with closures under it in the same way.
- Against a wall: use an endwall flashing with its upright leg tucked behind the wall cladding, not caulked to the face of it.
Leaving out the closures here is the second most common leak after bad screws. Wind drives rain straight through the open rib ends.
Safety on metal
Metal panels are extremely slippery when wet, dewy, or dusty, and the factory coating is slippery even when dry. Walk only on the flats over purlins, wear soft-soled shoes, and keep off the roof in the morning until dew has gone. Cut edges are sharp enough to cause serious injuries; wear gloves when handling panels, and do not carry a sheet flat on a windy day, since a long panel acts like a sail.
The mistakes that cause leaks
- Screws in the wrong position for the profile, or missing the purlin.
- Washers under- or over-tightened.
- Laps facing the prevailing wind.
- No closure strips at the eave or ridge.
- First panel out of square, so the last panel leaves a tapering gap at the rake.
- Panels cut with an abrasive disc, or filings left on the roof.
- Panels touching pressure-treated wood.
- No plan for condensation, blamed later on a leak that does not exist.
- Exposed-fastener panels on a roof below the minimum slope.
Check the screws once a year. Washers age faster than the panels, and after ten to fifteen years many exposed-fastener roofs need their screws replaced with the next size up. A few loose or split washers found early is a ten-minute job; a roof left alone is a leak across every purlin line.
If you are weighing metal against other options for a bigger roof, standing seam against corrugated metal and the pros and cons of metal roofs set out the differences.
Conclusion
Confirm the roof is at least 3 in 12, or use lap sealant down to the panel’s rated minimum. Start downwind, square the first panel, put every screw where the panel maker says and tighten it to a flat washer, and close the rib ends at the eave and ridge.
Add a plan for condensation before the panels go on rather than after, and a metal shed roof will outlast most of what is stored under it.