How to Install Rolled Roofing on a Flat Roof, Step by Step
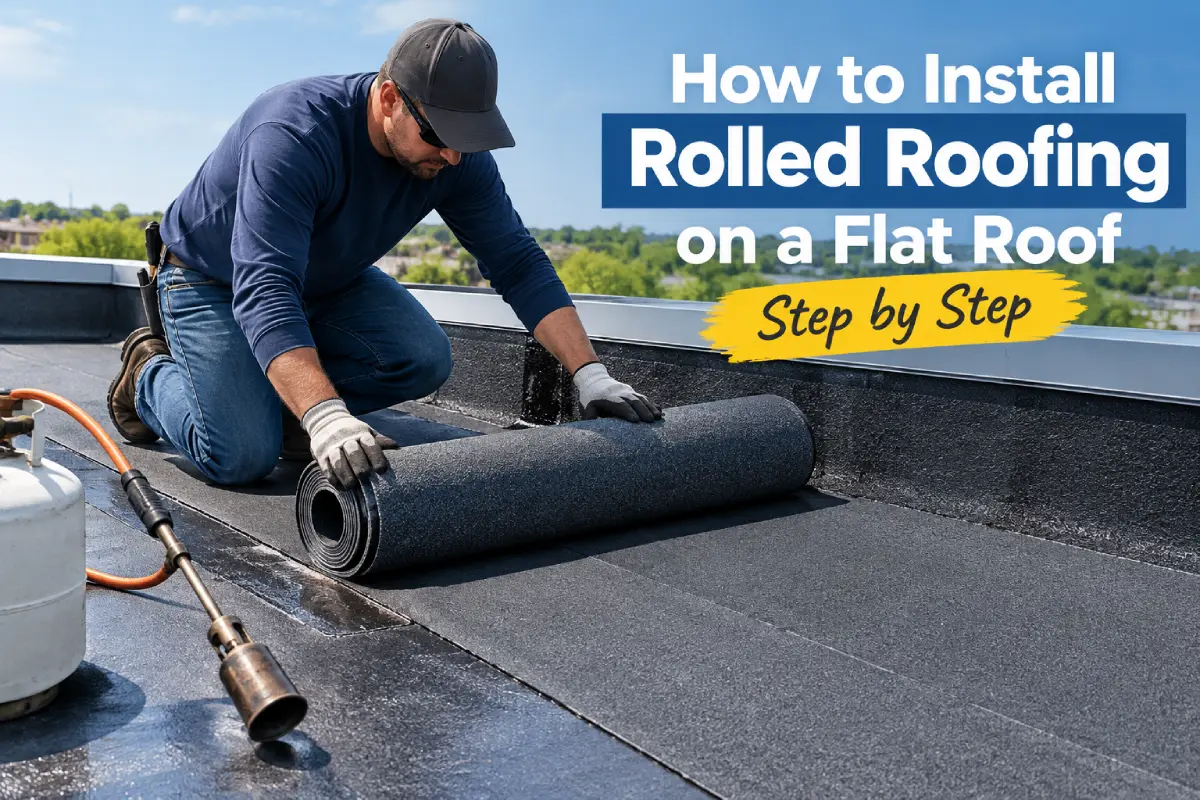
Rolled roofing is the quickest and cheapest way to cover a small, low roof. It comes as 36-inch-wide rolls of mineral-surfaced asphalt, goes down with nails and roofing cement, and a shed or porch roof can be done in an afternoon.
It has two limits worth knowing before you buy. It needs some slope, so it is not for a truly flat roof. And it lasts years rather than decades, so it suits outbuildings better than living space.
How flat is too flat?
The residential code allows mineral-surfaced roll roofing on slopes of 1 in 12 or more, meaning at least 1 inch of fall for every 12 inches of run. Below that, water sits on the laps long enough to get under them.
A 10-foot-deep shed roof needs to fall at least 10 inches from front to back. If yours falls less, or water ponds on it after rain, use a membrane such as EPDM instead, which is rated down to 1/4 in 12. The roof pitch calculator gives the slope from two measurements.
Manufacturers set their own slope limits for each application method, and they matter. Read the roll wrapper before choosing a method.
Three ways to install it
1. Exposed-nail method
Each course laps the one below by a few inches, and the lap is cemented and nailed through the face. It is fastest, but every nail is exposed to the weather, so manufacturers generally restrict it to steeper slopes.
2. Concealed-nail method
Nails go along the top edge of each course where the next course covers them, and the laps are cemented. There are no exposed nails, and it is rated for lower slopes, commonly down to 1 in 12. This is the method to use on a low roof, and the one described below.
3. Double coverage
Special rolls with a 19-inch plain selvage and 17 inches of mineral surface. Each course laps the one below by the full selvage and is fully cemented, giving two layers everywhere. It takes more material and lasts longer.
Materials
- Roll roofing. A standard roll covers about 100 square feet with a 3-foot width. Add around 15 percent for laps and waste, more for double coverage.
- Underlayment: No. 15 or No. 30 asphalt felt, or a synthetic compatible with asphalt roofing.
- Drip edge for every edge.
- Roofing nails: galvanized, long enough to go 3/4 inch into the deck or just through plywood or OSB.
- Lap cement: asphalt lap or roof cement, the grade named on the roll.
Measure the roof area with the roof area calculator if it has more than one plane.
Pick the right day
Roll roofing is stiff and cracks when cold. Work on a dry day when the temperature is comfortably above freezing, ideally 50°F (10°C) or more, and forecast to stay dry while the cement cures.
Before installing, cut the roll into lengths a little longer than the roof, typically 12 to 18 feet, and lay them flat, mineral side up, in the sun for an hour or so. This lets the curl relax. A piece laid while it is still curled will ripple and pull at its nails as it flattens.
Step 1: Prepare the deck
Remove the old covering down to the deck, and replace any sheets that are soft, delaminated, or badly stained. Pull or drive down any protruding nails. Sweep the deck clean; grit under roll roofing wears a hole through it from below.
The deck must be dry. Roll roofing laid over wet timber blisters.
Step 2: Drip edge and underlayment
Nail drip edge along the low edge (eave) directly onto the deck. Roll underlayment across the roof starting at the eave, lapping over the drip edge, with each higher course overlapping the one below by at least 2 inches and ends overlapping by 4 to 6 inches. Then fit drip edge along the sides (rakes) over the underlayment.
Step 3: Starter strips
For the concealed-nail method, cut 9-inch-wide strips from a roll and nail them along the eave and both rakes, flush with the drip edge, nailing about 1 inch from each edge at roughly 4-inch spacing. These strips give the first course something to be cemented to, so the edges of the roof are sealed without face nails.
Step 4: The first course
Lay the first full-width length along the eave, mineral side up, overhanging the drip edge by about 1/4 to 3/8 inch at the eave and rakes. Snap a chalk line along its top edge first so it runs straight; roll roofing magnifies a crooked start.
Nail the top edge only, about 1 inch in from the edge, with nails roughly 4 inches apart. Keep nails where the next course will cover them.
Lift the lower edge and the rake ends, spread lap cement onto the starter strips beneath in an even band as wide as the strip, and press the roofing down firmly. A roller or a push broom helps.
Step 5: The following courses
Each new course overlaps the one below. Follow the lap line printed on the roll, commonly around 3 to 4 inches for single-coverage rolls.
- Snap a chalk line for the top edge of the course.
- Lay the length in place and nail the top edge as before.
- Fold back the lower edge, spread lap cement over the full width of the overlap on the course below, and press down.
- Cement the rake ends to the starter strips.
Use cement in an even, moderate band. Too little leaves dry spots in the lap; too much squeezes out, stays soft, and causes blistering in hot weather.
Where a course needs two lengths end to end, overlap the ends by 6 inches, cement the whole overlap, and nail it along its covered portion. Stagger end laps between courses so they never line up.
Step 6: The top edge
- Top edge against a wall: turn the last course a few inches up the wall and cover it with metal flashing tucked behind the wall cladding.
- Open top edge: wrap the last course over the edge onto the fascia and nail it on the face, then fit a drip edge or top trim over it.
- A ridge with two slopes: cut a 12-inch-wide strip, bend it over the ridge (warm it first), cement it down on both sides, and nail it along its edges at about 2-inch spacing with the nail heads cemented.
If you are using double-coverage rolls
The sequence is similar, but the lap is the whole selvage:
- Start with a strip of selvage cut from a roll at the eave, then lay the first full course over it.
- Nail each course only within its plain selvage, never through the mineral surface.
- Fold back the mineral-surfaced part of the next course, spread cement over the entire 19-inch selvage below, and press the course down over it.
Every point on the roof ends up with two layers of roofing bonded together, which is why this method tolerates low slopes better and lasts noticeably longer.
Working on a low roof
Low-slope roofs feel safe and still cause falls, most often from stepping backwards off an edge while unrolling material. Unroll toward yourself only when you can see the edge, or work so you move parallel to it. Keep cement off the soles of your shoes, as it makes a mineral surface treacherous. If the roof deck gives noticeably between joists, stay off it until the soft area is replaced.
How long will it last?
Single-coverage roll roofing typically lasts somewhere around 5 to 10 years, less on a roof that ponds or bakes in full sun, and a well-installed double-coverage roof lasts longer. It does not tolerate foot traffic well, and it is easy to damage with a dropped tool.
That makes it a sensible choice for a shed, a backyard building or a porch where a cheap roof replaced every several years makes more sense than an expensive one. For a garage or an addition with a room below, EPDM or modified bitumen will generally be worth the extra cost. EPDM, TPO, and modified bitumen compared covers the step up.
Common rolled roofing mistakes
- Installing on a roof below 1 in 12, or one that ponds.
- Using the exposed-nail method on a low slope.
- Laying it cold, or before the curl has relaxed.
- Too much cement, which blisters, or too little, which leaves dry laps.
- Nails through the exposed surface where the next course does not cover them.
- Aligned end laps between courses.
- Skipping the drip edge, so water runs back into the fascia.
Conclusion
Check the roof falls at least 1 inch per foot. Then use the concealed-nail method: drip edge, underlayment, 9-inch starter strips cemented at the edges, and each course nailed along its top edge and cemented along the lap below, on a warm, dry day with relaxed material.
Expect single-coverage roll roofing to last years rather than decades. For a small outbuilding that is often exactly the right trade, and double coverage buys more of both slope tolerance and life.