How to Install Metal Roofing on a Flat Roof (and When You Cannot)
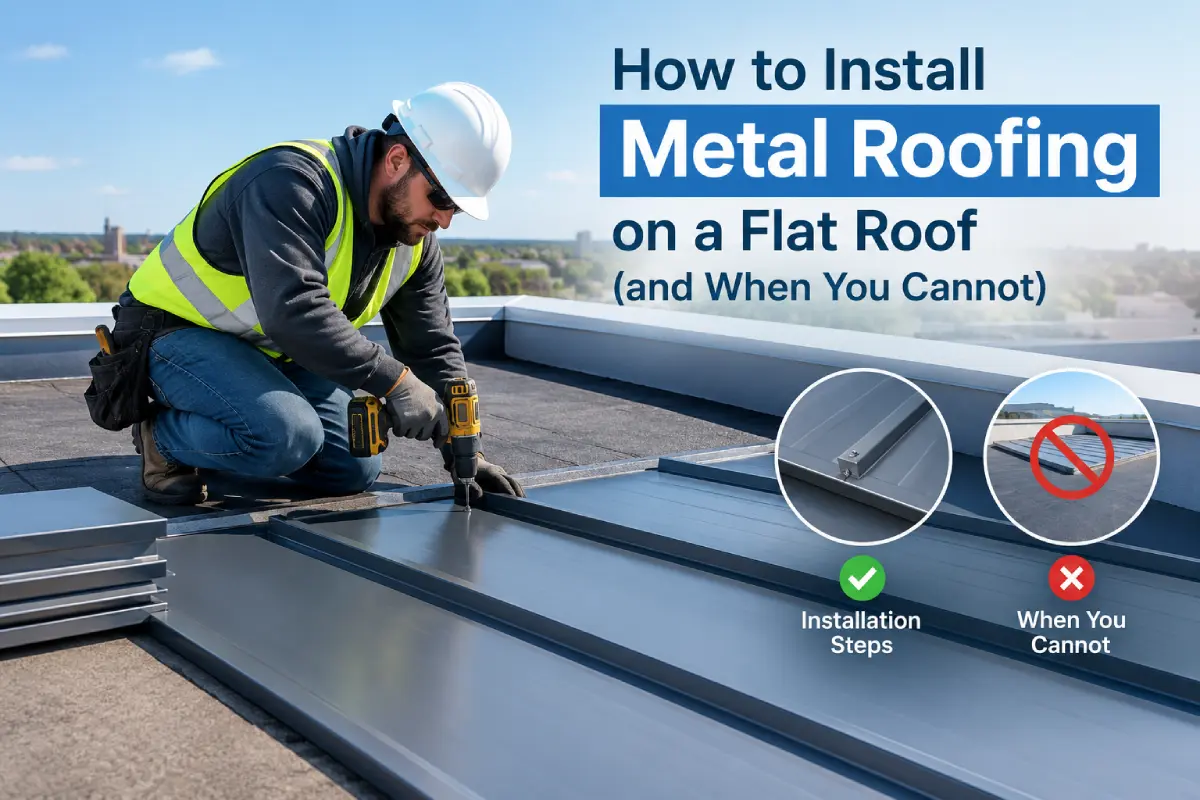
You can put metal on a roof most people would call flat, but not the kind of metal most people picture, and not by the usual method. The corrugated and ribbed panels sold at building suppliers need a real slope. Metal that works at very low slopes is a professional standing seam system. The third route, and the one most DIY projects actually use, is to build slope into the roof first.
Which of the three applies depends on one measurement.
Start by measuring the slope
“Flat” roofs are almost never level. They are built with a slight fall toward a gutter or drain, commonly around 1/4 inch per foot, which is 1/4 in 12. Measure yours: hold a level horizontally against the roof, measure 12 inches along it, and measure down to the surface. On a very shallow roof, take the reading over a longer level and scale it. The roof pitch calculator converts any rise and run.
Check for ponding at the same time. Areas where water stands for more than a couple of days after rain tell you the actual fall is less than intended, or the deck has sagged.
Minimum slopes by type of metal roof
The International Residential Code sets these minimums:
- Lapped, non-soldered panels without lap sealant (ordinary exposed-fastener corrugated and ribbed sheets): 3 in 12.
- The same panels with lap sealant applied as the manufacturer instructs: 1/2 in 12.
- Standing seam systems: 1/4 in 12.
Manufacturers’ own minimums take priority where they are stricter, and they often are. Many snap-lock standing seam panels are rated only to a higher slope, commonly 3 in 12, while mechanically seamed panels, which are crimped together with a seaming machine, are the ones rated down to 1/4 in 12.
Put your measurement against that list and the options narrow quickly.
Option 1: Exposed-fastener panels with sealed laps
Where the roof has at least 1/2 in 12 of slope, the code permits ordinary lapped panels if every side lap and end lap is sealed.
It is legal, and it is also the option to be most cautious about. Every screw is a hole through the roof, and at a very shallow slope water sits around those washers much longer than on a pitched roof. Laps depend entirely on the sealant staying intact as the panels expand and contract.
If you go this way on a shed, carport or similar structure:
- Confirm the panel manufacturer rates the product for your slope, in writing.
- Use continuous butyl tape in every side lap, and avoid end laps entirely by ordering full-length panels.
- Fasten exactly where and how the manufacturer specifies, with washers compressed flat but not crushed.
- Use closure strips at both ends and seal them.
- Expect to check and re-tighten or replace fasteners regularly.
For a heated or finished room below, this is not a good choice.
Option 2: Mechanically seamed standing seam
Standing seam panels have no exposed fasteners. They are held down by concealed clips, and the seams between panels stand up above the water line. Mechanically seamed versions are folded together along the full length of every seam, which is what lets them work at 1/4 in 12.
This is the proper low-slope metal roof, and it performs well on genuinely shallow roofs. It is also not a DIY project in any practical sense:
- Panels usually have to be formed to exact length, often on site, and run in one piece from the high edge to the low edge.
- Seaming requires a powered seaming machine and experience using it.
- Low-slope details at walls, penetrations and the high edge are specialized.
- The underlayment is typically a high-temperature self-adhered membrane over the whole deck.
If this is the right system for your roof, the useful thing to do is understand it well enough to hire for it. Standing seam against corrugated metal explains the difference in detail.
Option 3: Build a slope, then use ordinary panels
This is the approach usually called a frame-up retrofit, and for a DIYer with a small flat roof it is often the most reliable way to end up with a metal roof.
You add framing on top of the existing flat roof to create a pitch of 3 in 12 or more, and then install standard exposed-fastener panels the normal way.
The steps
- Check the structure. The new framing, the panels, and any snow load all sit on the existing roof. On a house or garage, have that confirmed by somebody qualified before building anything.
- Check permits and height limits. Adding framing changes the roof line and usually needs a permit. Some areas also restrict the height of structures near a boundary. Whether you need a permit covers who to ask.
- Repair the existing roof so it is dry and sound, since it will be enclosed.
- Fix tapered sleepers (rafters cut on a taper, or built up in steps) across the old roof, running in the direction you want water to drain, and fastened down into the structure below. Use pressure-treated lumber only where it will be separated from the metal.
- Add purlins across the sleepers at the spacing the panel manufacturer specifies.
- Ventilate the new cavity. Leave the ends open with insect mesh, or vent it at the low and high edges, so moisture trapped between the old and new roofs can escape.
- Install the metal roof: eave trim and closures, panels started downwind and squared, fasteners in the panel maker’s pattern, rake trim, and a high-side or wall flashing at the top.
- Deal with the water. A new slope moves all the rain to one edge. Fit a gutter sized for the roof and a downspout that takes water clear of the building.
Detailed panel installation, from fastener placement to closures and condensation, is covered in how to install a metal roof on a shed. The same method applies once the slope exists.
Before you build on top of an existing roof
Adding a second roof over a first one adds weight and changes how wind loads the building. On a shed or carport that may be trivial. On a garage, addition, or anything with living space below it, the existing joists were sized for the original roof, and nobody can tell by looking whether they will carry the new one. Get the structure checked, get the permit, and keep off any flat roof that flexes noticeably underfoot.
Choosing between them
- Roof at 3 in 12 or more: not really flat. Install standard exposed-fastener panels.
- Roof between 1/2 in 12 and 3 in 12, outbuilding only: exposed-fastener panels with sealed laps, if the manufacturer rates them for it.
- Roof between 1/4 in 12 and 3 in 12, living space below: mechanically seamed standing seam, professionally installed, or build up the slope.
- Roof below 1/4 in 12, or ponding: no metal system is appropriate as it stands. Build up the slope, or use a membrane.
Is metal the right choice at all?
Often the reason for wanting metal on a flat roof is durability. Membranes can deliver that on low slopes without the complications. EPDM is rated down to 1/4 in 12, comes in a single sheet for most small roofs, and is well within DIY reach. The main flat roof systems, compared is worth reading before committing to a frame-up.
Conclusion
Measure the slope before deciding anything. Ordinary metal panels need 3 in 12 unsealed, or 1/2 in 12 with sealed laps where the manufacturer allows it. Standing seam goes lower, to 1/4 in 12, but only as a mechanically seamed, professionally installed system.
For most small flat roofs, the dependable DIY route is to build a slope of at least 3 in 12 with tapered framing, vent the new cavity, and install standard panels over it. Where that is not practical, a membrane is usually the better roof.