What Should You Do Before a Roof Replacement?
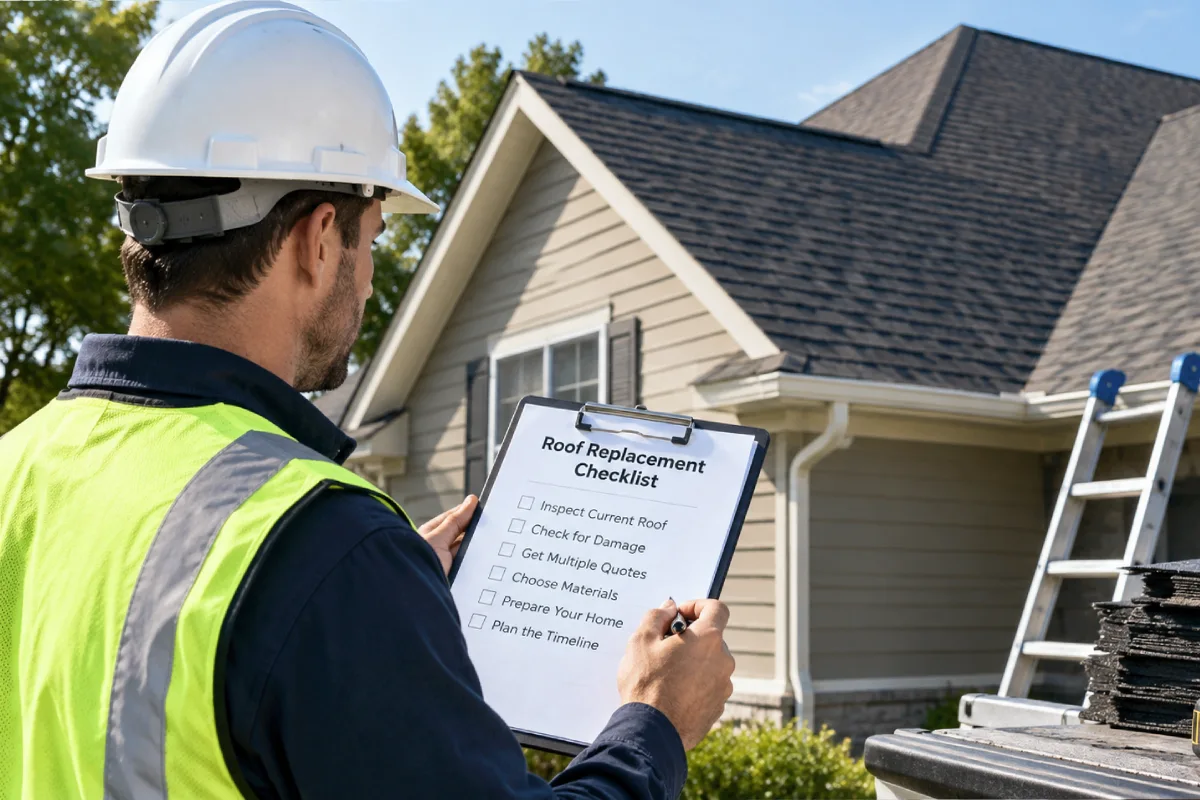
A roof replacement is one of the biggest home improvement projects you will ever take on. It is a significant investment, a multi-day construction project happening directly over your head, and a decision that will affect your home’s protection, appearance, and value for the next 20 to 50 years.
The good news is that a lot of the stress and disruption can be avoided with proper preparation. The more you do before the crew shows up on the first day, the smoother the project will go — for you, your family, and the roofing team.
This checklist covers everything you should do before a roof replacement, organized in a logical sequence from weeks before the project starts to the morning the crew arrives.
Weeks Before the Project
These are the bigger-picture items that should be handled well in advance.
1. Choose the Right Contractor
This is the most important decision in the entire process. Your contractor determines the quality of the installation, the reliability of the timeline, and the value you get for your money.
Verify before you sign
What to look for:
- Licensed and insured. Verify that the contractor holds a valid license in your state or municipality and carries both general liability insurance and workers’ compensation insurance. Ask for certificates of insurance and verify them.
- Experience with your roofing material. If you are getting a metal roof, tile roof, or another specialty material, make sure the contractor has specific experience installing it — not just asphalt shingles.
- Local reputation. Look for reviews on Google, the Better Business Bureau, and other platforms. Ask for references from recent jobs in your area.
- Detailed written estimate. A professional estimate should break down materials, labor, tear-off, disposal, flashing, ventilation, permits, and any other costs. Beware of vague, lump-sum quotes.
- Written contract. The contract should specify the scope of work, materials to be used, timeline, payment schedule, warranty terms, and what happens if unexpected issues arise.
- Clear communication. The contractor should be responsive, answer your questions thoroughly, and explain the process in terms you understand.
What to avoid:
- Storm chasers who show up unsolicited after a weather event (see roofing contractor red flags)
- Contractors who pressure you to sign immediately
- Anyone who demands full payment upfront
- Unusually low bids that seem too good to be true
- Contractors who are reluctant to provide proof of insurance or references
2. Select Your Roofing Materials
Work with your contractor to choose the right materials for your home, climate, and budget. Consider:
- Material type. Asphalt shingles, metal, wood, tile, slate, synthetic — each has different costs, lifespans, aesthetics, and performance characteristics.
- Color and style. Your roof is one of the most visible parts of your home’s exterior. Choose a color and style that complements your home’s architecture and your neighborhood.
- Quality grade. Within each material category, there are good, better, and best options. Architectural shingles, for example, outperform basic 3-tab shingles in durability and appearance.
- Warranty coverage. Compare manufacturer warranties. Some offer 25-year coverage; others offer lifetime or 50-year coverage. Understand what is covered and what conditions apply; our guide to what a roofing warranty covers explains the fine print.
- Local building codes. Some areas have specific requirements for fire resistance, wind rating, or material type. Your contractor should be aware of these. If you live under a homeowners association, check its rules on roof material and color as well, since many require approval before work starts.
Once you have made your selections, confirm them in writing in the contract. This avoids misunderstandings later.
3. Understand the Contract and Payment Terms
Read the contract thoroughly before signing. Make sure it covers:
- Complete description of the work to be performed
- Specific materials (brand, model, color)
- Project start date and estimated duration
- Total cost and payment schedule
- Deposit amount (if any) — a deposit of 10 to 30 percent is common, but some states cap it by law
- Change order process and pricing
- Cleanup and disposal responsibilities
- Warranty terms (both manufacturer and workmanship)
- Permit responsibility (usually the contractor handles this)
- Insurance information
- What happens if the project is delayed by weather or other factors
Do not sign anything you do not fully understand. Ask questions until you are comfortable with every term.
If you have rooftop solar panels, settle now who will take them down and put them back. That work is usually done by a solar installer rather than the roofing crew, it may need booking weeks ahead, and having the wrong people handle the panels can put the solar system’s warranty at risk. Satellite dishes and antennas also have to come off, so agree who removes and resets those.
4. Check Your Homeowner’s Insurance
Before the project begins, review your homeowner’s insurance policy. You want to understand:
- Coverage during construction. Is your home covered if something goes wrong during the roof replacement — for example, if a sudden storm damages the exposed decking before the new roof is on?
- Liability coverage. If a worker is injured on your property, your contractor’s workers’ compensation should cover it, but it is worth understanding your own liability exposure as well.
- Potential claim eligibility. If the roof replacement is being prompted by storm damage or another covered event, file the claim before work begins; our guide to telling whether a storm damaged your roof covers documenting the damage. Your contractor can often work with your insurance adjuster to document the damage and scope the work.
5. Get Permits in Order
Most jurisdictions require a building permit for a roof replacement, though the rules vary; see whether you need a permit. Your contractor typically handles the permit application and associated fees, but confirm this in your contract.
The permit ensures that the work will be inspected by the local building department to verify code compliance. This protects you as the homeowner — it is an independent verification that the work was done properly.
6. Notify Your Neighbors
A roof replacement is noisy and disruptive — not just for you but for the people living next door. As a courtesy, let your neighbors know about the project before it starts. Tell them:
- The expected start date and duration
- That there will be significant noise during work hours
- That the crew will need access to the perimeter of your home
- That you appreciate their patience
This small gesture goes a long way toward maintaining good relationships. Most people are understanding when they know what to expect.
One to Two Days Before the Project
These are the practical preparations that get your home and property ready for the construction crew.
7. Prepare the Exterior of Your Home
The roofing crew needs clear access to the perimeter of your house. Move or protect anything that is in the way.
Move these items:
- Vehicles from the garage and driveway (the dumpster will occupy part of the driveway)
- Patio furniture, grills, and outdoor dining sets
- Potted plants and garden decorations
- Children’s toys, bikes, and play equipment
- Trash cans and recycling bins
- Any portable items near the house walls
Protect these items:
- Fragile or valuable plants near the house — ask the crew to cover them with tarps or plywood, or cover them yourself
- Outdoor lighting fixtures that are close to the house (the crew should be aware of these)
- Decorative stone or mulch beds that you do not want disturbed
- Sprinkler heads — mark them with flags if they are near the house
8. Prepare the Interior of Your Home
Vibrations from roof work travel down through the structure. Things you might not expect can be affected.
Top-floor walls:
- Take down framed photos, artwork, mirrors, and decorative items from walls on the top floor. The vibrations from tear-off and nailing can knock items off hooks.
- This is especially important for heavy frames or items hung over beds or seating areas.
Attic:
- Cover stored items in the attic with drop cloths or old sheets. Tear-off generates a lot of dust, dirt, and small debris that falls into the attic space.
- If you have valuable items stored in the attic, consider temporarily relocating them to another part of the house.
- Move items away from the edges of the attic where they are most likely to be affected.
Ceilings:
- If you have ceiling-mounted light fixtures or fans on the top floor that are loose or wobbly, secure them before the project begins.
9. Plan for Access and Utilities
The roofing crew needs access to certain areas of your property and utilities.
Electrical outlets. The crew may need to use exterior outlets for power tools, compressors, or chargers. Make sure your outdoor outlets are working. If you have a specific outlet you prefer them to use, let the foreman know.
Water access. The crew may need access to an outdoor hose or spigot.
Gates and fences. If your yard is fenced, make sure gates are unlocked or provide the crew with access codes for locked gates. Let them know about any specific entry points you prefer.
Driveway access. Confirm with your contractor where the dumpster will be placed and where material deliveries will be staged. Make sure the delivery truck can access your property — check for low-hanging branches, narrow passages, or overhead wires that might be in the way.
10. Make Arrangements for Pets and Children
A roof replacement is stressful for pets and can be a safety concern for small children.
Pets:
- Dogs and cats can become anxious from the constant noise overhead. Consider keeping pets in a quiet room away from the activity, or arrange for them to stay with a friend, at a daycare, or at a boarding facility during the loudest days.
- Make sure pets cannot access the yard during work hours. Nails, debris, and open gates pose safety risks.
- If you have a dog that barks at strangers or unusual sounds, plan accordingly — the noise will be constant for hours.
Children:
- Explain to older children what is happening and that the work area is off-limits.
- For toddlers and young children, keep them inside and away from windows near the work area.
- If you have a swing set, sandbox, or play area near the house, cover it or restrict access during the project.
The Night Before
A few final steps the evening before work begins.
11. Set Your Alarm
Roofing crews typically start early — often between 7:00 and 8:00 AM. You will want to be up and ready before they arrive. Take care of any last-minute preparations, move any remaining vehicles, and make sure the work area is fully clear.
12. Confirm the Schedule
A quick text or call to your contractor to confirm the start time and any last-minute details is always a good idea. Weather can change overnight, and a responsible contractor will let you know if the start needs to be delayed.
13. Prepare for Noise
If you work from home, make arrangements to work elsewhere during the noisiest days. If that is not possible, noise-canceling headphones can help. Set expectations with coworkers or clients that you may have background noise during calls.
Morning of the Project
The crew arrives. Here is what to expect and what to do.
14. Meet the Foreman
When the crew arrives, introduce yourself to the foreman or project manager. Confirm:
- The scope of work for the day
- Any specific concerns you have (fragile landscaping, pets, preferred access points)
- How to reach them if you need to step out
- When you can expect updates on progress
15. Do a Final Walk-Around
Before work begins, walk around the outside of your house with the foreman. Point out:
- Fragile plants or landscaping features
- Sprinkler heads or underground utilities near the work area
- Any areas of concern (a loose gutter, an existing leak spot you want them to investigate)
- Where you would like materials and the dumpster positioned
This is also a good time to confirm that everything has been moved and protected as needed.
16. Secure Your Home
Close all windows on the top floor. The tear-off process generates a significant amount of dust and debris that can easily enter through open windows. If you have window air conditioning units on the top floor, consider removing or covering them.
17. Let the Crew Work
Once the project is underway, the best thing you can do is let the crew do their job. Avoid walking under the work area. Do not go onto the roof. If you have questions or concerns, address them with the foreman rather than individual crew members.
Additional Tips for a Smooth Project
Get everything in writing. From the initial estimate to any changes during the project, documentation protects both you and the contractor. If a change is discussed verbally, follow up with an email confirming the details.
Understand the payment schedule. Know when payments are due and what milestones trigger them. Typically, a deposit is paid at signing, a progress payment may be due at tear-off or material delivery, and the final payment is due upon completion and your satisfaction, ideally once you have lien waivers for the work and materials and any required final inspection has passed.
Take before photos. Document the condition of your existing roof, your landscaping, driveway, and the exterior of your home before the project begins. This provides a record in case any damage occurs during the work.
Be available but not hovering. It is helpful for the foreman to be able to reach you during the project if questions come up — for example, if they discover decking damage that needs repair, or if a material choice needs to be made. But standing underfoot or constantly interrupting the crew slows them down. Trust the professionals you hired and let them work.
Prepare for a mess — temporarily. During active tear-off and installation, your property will look like a construction zone. This is normal. By the end of the project, the crew should restore your property to a clean condition. If anything looks off at the end, speak up before making final payment.
After the Project: What Comes Next
Once the work is complete and the cleanup is done, there are a few final steps:
- Walk the property with the foreman and inspect the work. Look at the roof from multiple angles. Check the gutters, the flashing, and the cleanup.
- Get all documentation — warranty papers, permit sign-off, final invoice, and any photos the contractor took during the process.
- Register your warranty if required by the manufacturer.
- Save your contractor’s contact information. If you have questions or notice anything after the crew leaves, you want to be able to reach them easily.
- Leave a review. If you had a good experience, a positive review helps the contractor and helps other homeowners make an informed choice.
Conclusion
Preparation is the difference between a stressful roof replacement and a smooth one. By choosing the right contractor, understanding your materials and contract, preparing your home inside and out, and planning for the disruption, you set yourself up for a successful project with minimal hassle.
Use this checklist as your guide. Work through it methodically, starting weeks before the project and finishing with the final details the morning the crew arrives. The time you invest in preparation will pay off in a better experience, a better outcome, and a roof that protects your home for decades to come.