What Happens During a Roof Replacement? Step-by-Step Guide
If you have never had a roof replaced before, the process can seem mysterious and even intimidating. You know the old roof is coming off and a new one is going on, but what actually happens between those two points? Who is on your property, what are they doing up there, and how does it all come together?
Understanding the roof replacement process helps you set expectations, prepare your home, communicate effectively with your contractor, and feel confident that the job is being done right.
This step-by-step guide walks you through every phase of a typical residential roof replacement, from the first day of work to the final inspection.
Before Work Begins: The Pre-Construction Phase
A well-organized roofing project starts before anyone climbs a ladder. Here is what happens in the days leading up to the actual work.
Contract and scheduling. Once you have chosen a contractor, agreed on materials, and signed the contract, the project gets scheduled. The timeline depends on the contractor’s workload, material availability, and weather forecasts. Your contractor should give you a projected start date and an estimated duration.
Material delivery. Roofing materials are bulky and heavy. Shingles, underlayment, flashing, nails, and other supplies are typically delivered by truck — sometimes a flatbed with a boom crane that lifts pallets of shingles directly onto your roof. If your roof cannot support the weight or access is limited, materials may be staged in your driveway or yard.
Agree to this beforehand
Dumpster delivery. A roll-off dumpster is placed on your property (usually the driveway) to collect the old roofing materials. The contractor should protect your driveway surface with plywood under the dumpster.
Your preparation. Before the crew arrives, you should:
- Move vehicles out of the garage and driveway
- Remove or cover items stored in the attic
- Take down wall decorations on the top floor (vibrations from the work can knock things off walls)
- Clear the perimeter of your house — patio furniture, grills, planters, toys, and decorations
- Identify and mark any sprinkler heads or landscape features near the house
- Make arrangements for pets and children during the noisiest parts of the project
- Inform your neighbors about the upcoming work as a courtesy
Step 1: Tear-Off — Removing the Old Roof
The first and often loudest phase of the project is tearing off the existing roof. This is where most of the noise and debris comes from.
What the crew does:
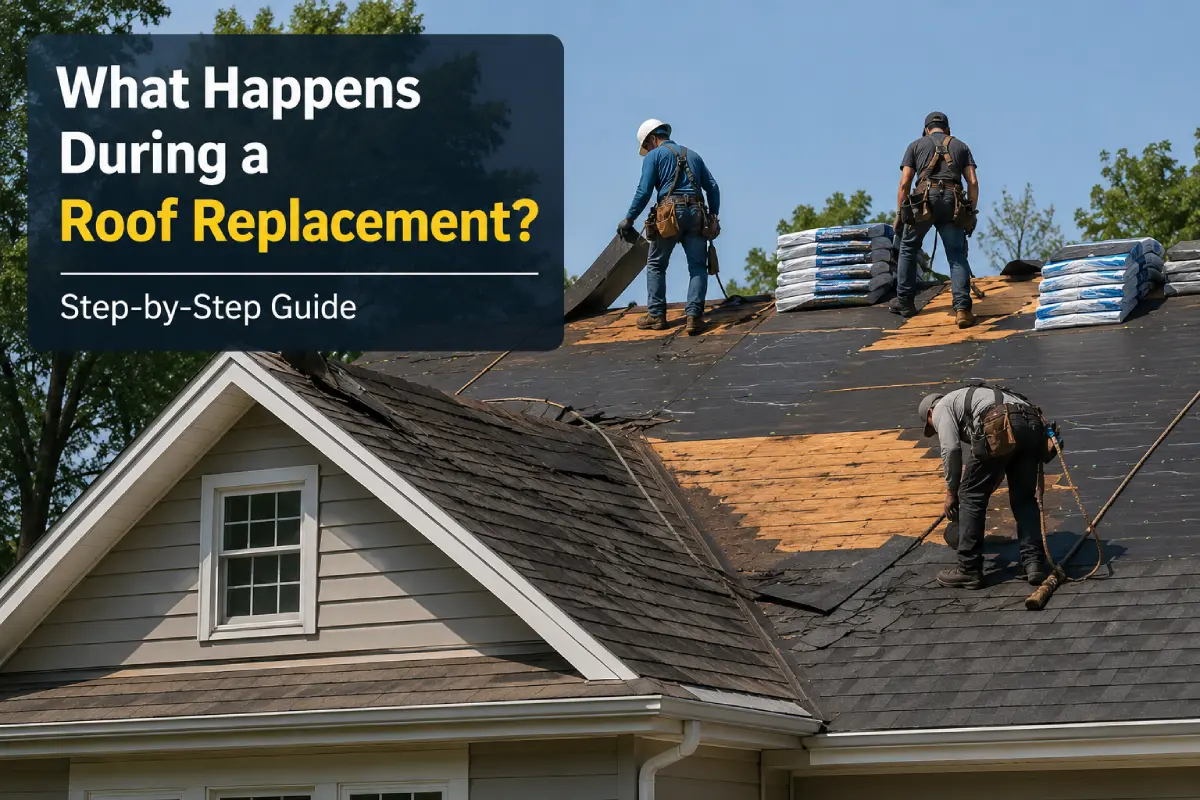
The crew uses roofing shovels, pry bars, and sometimes pitchforks to strip the old shingles, underlayment, and flashing down to the bare decking. On steep roofs, they work from the top down. On lower-slope roofs, they may work in sections.
Old materials are tossed into the dumpster or collected in wheelbarrows and carried to it. The tear-off process generates a surprising amount of debris — an average roof can produce several tons of waste material. Most crews tear off only as much as they can cover with underlayment the same day, so on a larger roof, steps 1 through 4 repeat section by section rather than happening once across the whole roof.
If your roof has multiple layers of old shingles, each layer must be removed. Two-layer tear-offs take longer and produce more debris.
What happens at the eaves:
As the crew works down to the eaves (the lower edges of the roof), they remove the old drip edge and any existing gutter apron. This is the transition point between the roof and the gutters.
Time estimate: Tear-off typically takes half a day to a full day, depending on the size and number of layers of the existing roof.
Noise level: High. Expect constant banging, scraping, and the sound of materials sliding into the dumpster. This is the loudest phase of the project.
Step 2: Deck Inspection and Repair
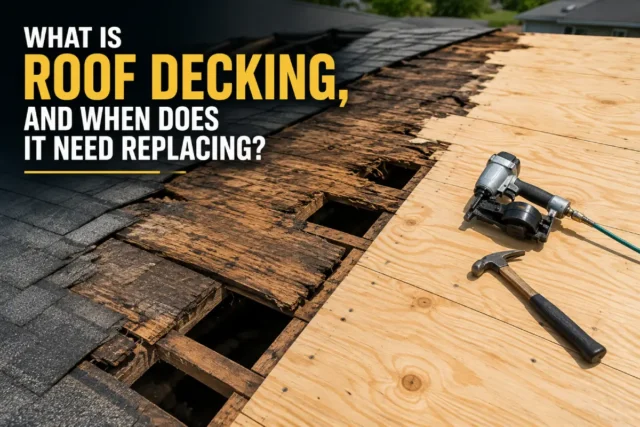
Once the old roofing materials are stripped away, the bare decking — the plywood or oriented strand board (OSB) that forms the structural base of the roof — is fully exposed. Now the crew can see what condition it is in.
What the crew does:
The foreman or lead installer walks the entire deck, looking for:
- Soft spots that indicate moisture damage or rot
- Delaminated or swollen OSB that has absorbed water
- Gaps between sheets that are wider than building code allows
- Signs of pest damage from insects or rodents
- Structural issues with rafters or trusses underneath
Damaged sections of decking are marked and cut out with a circular saw. New plywood or OSB of the same thickness is cut to fit and nailed securely to the rafters.
Why this step matters:
The decking is the foundation of your entire roofing system. Shingles, underlayment, and flashing all depend on a solid, flat, properly fastened deck. Installing a new roof over damaged decking is like building a house on a cracked foundation — the problems will only get worse.
Time estimate: Inspection is fast — usually an hour or two. Deck repairs can range from replacing a few sheets to extensive work if moisture damage is widespread.
Step 3: Installing the Drip Edge
With a sound deck in place, the installation of the new roofing system begins — and it starts at the edges.
What the crew does:
Metal drip edge is installed along the eaves (lower edges) of the roof. This L-shaped metal strip directs water away from the fascia board and into the gutters, preventing water from wicking back under the shingles.
The drip edge along the rakes (the sloped sides) is typically installed over the underlayment, as shown in the next step. The order matters for proper water shedding.
Why this step matters:
Without drip edge, water can curl behind the gutters and rot the fascia and soffit. The International Residential Code requires drip edge at the eaves and rakes of asphalt shingle roofs, so on most jobs it is not optional.
Step 4: Underlayment Installation
The underlayment is the waterproof or water-resistant barrier installed directly on top of the decking, underneath the shingles. It is your roof’s second line of defense if water gets past the shingles.
What the crew does:
Ice and water shield is applied first in the most vulnerable areas:
- Along the eaves, where the local code requires an ice barrier: under the International Residential Code, from the edge to at least 24 inches inside the exterior wall line, and at least 36 inches measured along the slope on roofs of 8:12 or steeper
- In roof valleys (where two slopes meet)
- Around penetrations like chimneys, vents, and skylights
- Along walls where the roof meets a vertical surface
Ice and water shield is a self-adhering, rubberized membrane that bonds directly to the decking and seals around nails that penetrate it.
After the ice and water shield, synthetic underlayment (or in some cases, traditional felt paper) is rolled out across the remaining deck area. The sheets overlap each other, starting from the bottom and working upward, so water sheds over the laps rather than getting underneath.
Why this step matters:
Underlayment is what keeps your home dry if wind-driven rain, ice dams, or other conditions allow water to get under the shingles. Skipping or skimping on underlayment is one of the most common cost-cutting shortcuts by less reputable contractors.
Step 5: Flashing Installation
Flashing is the thin metal material — usually aluminum, galvanized steel, or copper — installed at joints, transitions, and penetrations where water is most likely to enter.
What the crew does:
Flashing is installed at:
- Chimneys: Step flashing along the sides, counter flashing embedded into the mortar joints, and a cricket (diverter) on the uphill side, which the International Residential Code requires once the chimney is more than 30 inches wide
- Walls: Step flashing where the roof meets a vertical wall, with kick-out flashing at the bottom to direct water into the gutter
- Valleys: Metal valley flashing or a closed-cut/woven shingle method, depending on the design
- Plumbing vents: Boot flashing that seals around the pipe
- Skylights: Custom flashing kits designed for the specific skylight model
- Other penetrations: Exhaust fans, vents, satellite mounts, and any other roof penetration get appropriate flashing
Why this step matters:
Flashing failures are one of the most common sources of roof leaks. Properly installed flashing creates watertight seals at every point where water could potentially enter. This step requires experience and attention to detail.
Step 6: Shingle or Roofing Material Installation
Now the visible part of the job begins. The roofing material — the part you will see and live with for decades — goes on.
For asphalt shingles (the most common scenario):
Starter strip. A row of starter shingles is installed along the eaves, overhanging the drip edge by about half an inch. Starter strips have an adhesive strip that bonds to the first course of shingles, preventing wind uplift at the edge.
Field shingles. Working from the bottom of the roof upward, the crew installs shingles in horizontal courses. Each course overlaps the one below it by a set amount (the “exposure”), creating a layered waterproof system. Shingles are fastened with a pneumatic nail gun, with nails placed in the manufacturer’s designated nailing zone for maximum wind resistance.
The crew maintains straight, consistent courses across the entire roof. This is where skill and experience are most visible — a well-installed shingle roof has clean, straight lines that look great from the street.
Valleys. Valleys receive special attention because they channel large volumes of water. The crew uses either a closed-cut, woven, or open metal valley method, depending on the shingle manufacturer’s recommendations and local practice.
Hips and ridges. Where roof slopes meet at the peak (ridge) or at angles (hips), the crew installs hip and ridge cap shingles. These are specially manufactured pieces that bend over the peak and provide a finished, watertight transition. They also allow for ventilation at the ridge if a ridge vent is being installed.
Penetrations. Around vents, pipes, and other penetrations, shingles are carefully cut and fitted to work with the flashing underneath.
For metal roofing:
Panels are measured, cut, and installed with concealed or exposed fasteners depending on the system. Standing seam panels lock together with a mechanical seam, creating a sleek, watertight surface. Metal installation requires precise measurements and specialized tools.
For tile or slate:
Individual pieces are hung on battens or directly to the deck, with each piece carefully aligned and fastened. Tile and slate installation is slow, methodical work that requires experienced craftspeople.
Time estimate: For a medium-sized asphalt shingle roof, shingle installation typically takes one to two days.
Step 7: Ventilation Components
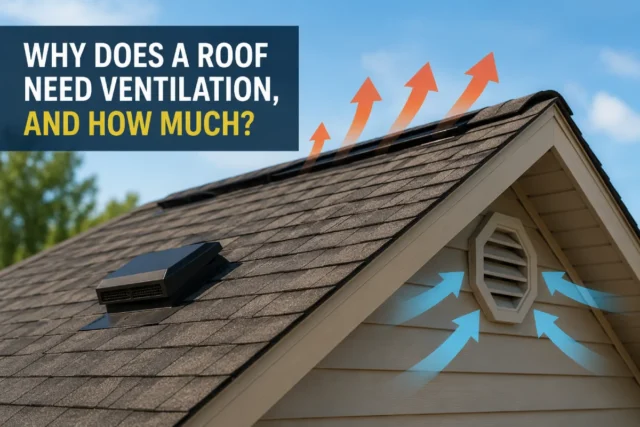
Proper attic ventilation is critical for the longevity of your roof and the energy efficiency of your home. Many roof replacements include upgrading or replacing ventilation components.
What the crew does:
- Ridge vent: A continuous vent installed along the peak of the roof, covered by ridge cap shingles. This allows warm, moist air to escape from the attic.
- Soffit vents: Intake vents installed in the soffit (the underside of the roof overhang). These allow cool, dry air to enter the attic at the bottom and push warm air out through the ridge vent.
- Other vents: Box vents, turbine vents, or powered attic ventilators may be used depending on the roof design and local practice.
The goal is balanced ventilation — equal intake and exhaust — so air flows continuously through the attic space. This prevents heat buildup in summer, moisture accumulation in winter, and ice dam formation in cold climates.
Step 8: Cleanup
A professional roofing crew takes cleanup seriously. By the end of the project, your property should look better than when they started — except for the brand-new roof.
What the crew does:
- All old roofing materials, packaging, and construction debris are loaded into the dumpster
- Tarps that protected landscaping or other areas are removed
- The grounds around the entire perimeter of the house are swept with magnetic nail rollers — powerful magnets on wheels that pick up any nails, screws, or metal debris that fell during the project
- Gutters are cleared of any shingle granules, nails, or debris from the installation
- The driveway and walkways are swept clean
- The dumpster is picked up and hauled away (sometimes on the same day, sometimes within a day or two)
Step 9: Final Inspection and Walkthrough
Before the crew packs up and leaves, there is a final quality check.
What happens:
The foreman or project manager walks the entire roof, checking:
- Straight, consistent shingle lines
- Proper flashing installation at all penetrations and transitions
- Secure fastening and sealed edges
- Ridge and hip caps properly installed
- Ventilation components functioning
- Clean, finished appearance
Then they walk the ground with you, pointing out the work that was done, answering your questions, and ensuring you are satisfied. They may also walk you through warranty information and maintenance recommendations.
In many jurisdictions, a municipal building inspector will also visit to verify the work meets code requirements. Your contractor usually handles scheduling this inspection.
Step 10: Documentation and Warranty
After the project is complete, you should receive:
- A final invoice matching the contract price (assuming no change orders)
- Lien waivers from the contractor, and from major suppliers and subcontractors where they apply, confirming they have been paid for the work and materials
- Manufacturer warranty registration for the roofing materials used
- Workmanship warranty documentation from the contractor covering their installation
- Photos of the work if your contractor provides them (many do as a standard practice)
- Permit closure documentation if applicable
Keep these documents in a safe place. You will need them if you ever file a warranty claim, make an insurance claim, or sell your home.
What a Quality Installation Looks Like
If you are watching the work from the ground, here are some signs that the installation is being done well:
- Clean, straight shingle lines visible from the street
- Consistent exposure (the amount of shingle showing) across all courses
- Neat flashing around chimneys, walls, and vents
- Balanced ridge caps that sit straight along the peak
- Organized worksite with materials staged neatly and debris managed throughout the day
- Crew communication — a well-run crew works as a coordinated team with clear direction from a foreman
Conclusion
A roof replacement is a structured process with clear, logical steps: tear-off, deck repair, underlayment, flashing, shingle installation, ventilation, and cleanup. Each step builds on the one before it, and the quality of each step affects the performance of the finished roof.
Understanding what happens at each stage helps you be an informed homeowner — someone who can ask the right questions, recognize quality work, and feel confident that your investment is being handled properly.
When the job is done, you will have a new roof that protects your home, improves your curb appeal, and gives you peace of mind for decades to come.